lotus seven club
engine removal
I assisted friend and fellow Blatchatter, Doug with an engine removal and replacement on his 1.6K series with dry sump. This allowed him to replace his clutch and engine mounts which were well past their best. Neither of us had undertaken this process on a Caterham before, but Doug has a fair amount of mechanical experience gleened from working on other vehicles. The decision was made to leave the gearbox in place and split the engine/clutch bellhousing in situ. The whole process was relatively straight forward and was completed in a single weekend. However, this was only possible because Doug had done extensive research beforehand and ensured that we had all the necessary parts, gaskets and fluids before we started! The key steps were recorded for posterity, but essentially boiled down to the following:
- Drain oil and coolant
- Remove radiator and cooling system
- Remove exhaust, alternator and starter motor
- Remove induction system from head
- Disconnect steering column from rack and clutch cable
- Split engine and clutch bellhousing
- Support clutch bellhousing
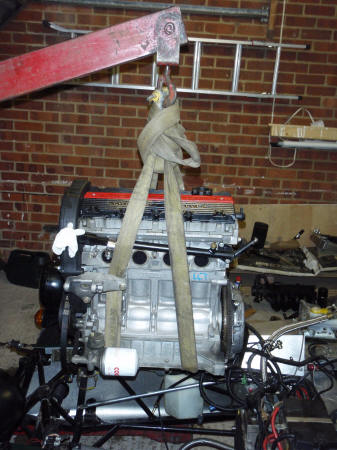
- Support engine on crane
- Undo engine mounts
- Remove engine
- Install new clutch plate, cover and release bearing
- Install engine with new mounts
- Reconnect exhaust, alternator and starter motor
- Refit induction system
- Refit cooling system and radiator
- Replace oil filter and fill with fluids
- Cross fingers and start after cranking for oil pressure
It looked like it may have been possible to remove fewer ancillaries, but we decided to go for maximum accessibility and visibility.
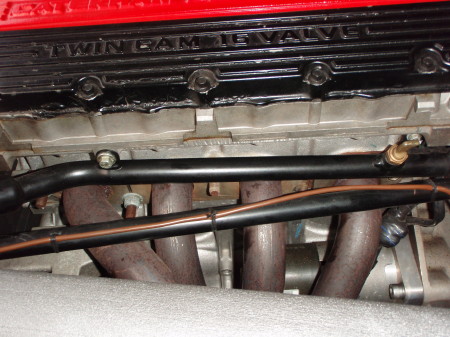
Water rail and removable chassis tube.
Alternator mounting points. Just undo all 3 bolts. The 2 right hand bolts use captive nuts.

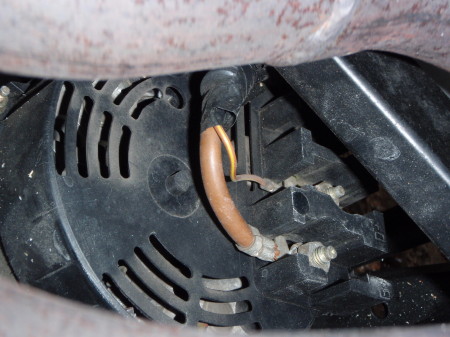
Alternator electrical connections. The engine mount obstructs access, so these are best disconnected one the alternator has been removed.
Note that reconnection is best undertaken before the alternator is re-installed!
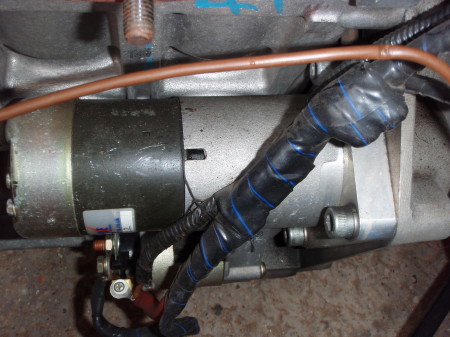
Brise starter motor held in situ by 3 allen head bolts. The lower bolt was undone using a pair of grips because of accessibility problems.
A cut down section of allen key turned by an open ended spanner would have been a more satisfactory approach. Why are allen keys all hacksaw proof?
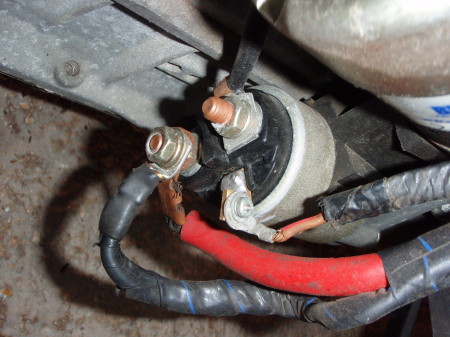
Starter motor electrical connections.
Starter motor removed.
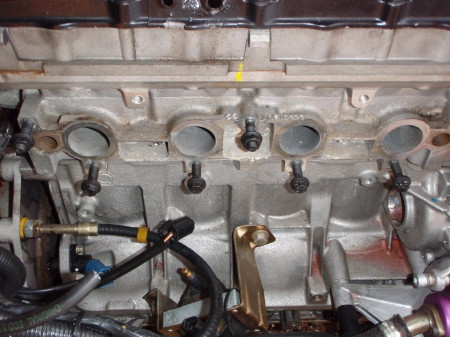
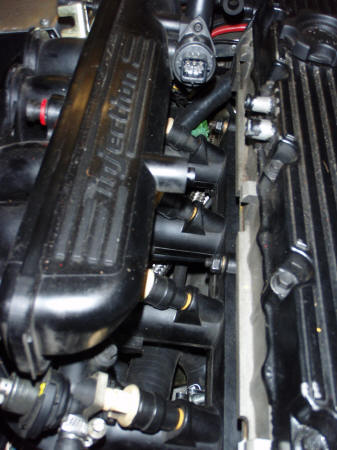
Inlet manifold removed.
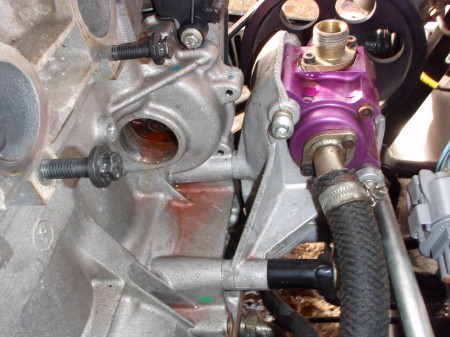
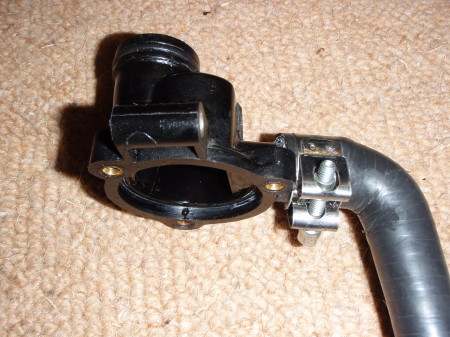
Thermostat housing removed.
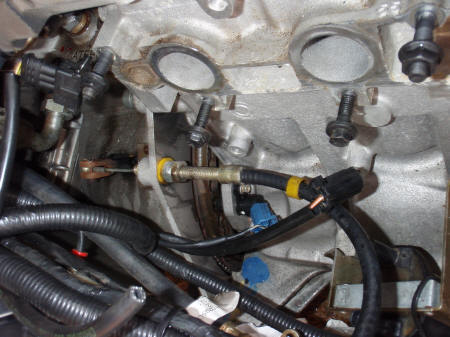
Clutch cable.
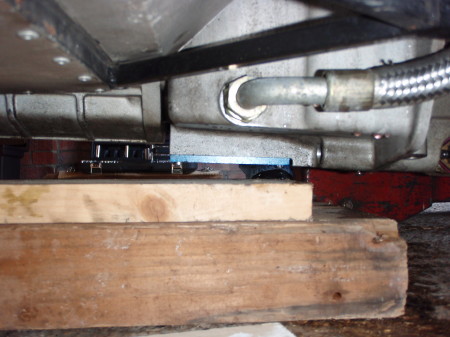
Front of gearbox supported prior to removal of engine mounts.
Engine almost out.
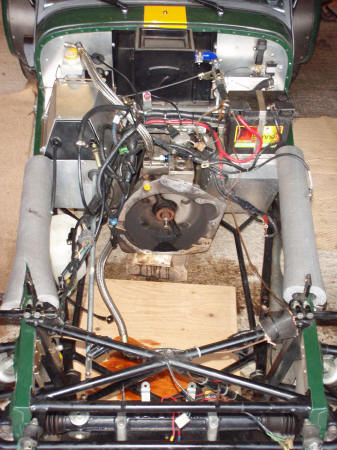
Engine out. Note pipe lagging for chassis protection.
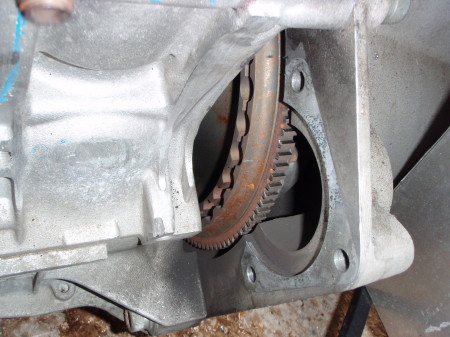
Clutch assembly ready for inspection.
Thermostat housing removed. This is very difficult to access with the inlet manifold in place.
Doug therefore took the opportunity to dismante the housing and modify the thermostat with a hole to aid bleeding of the system when re-filling with coolant.
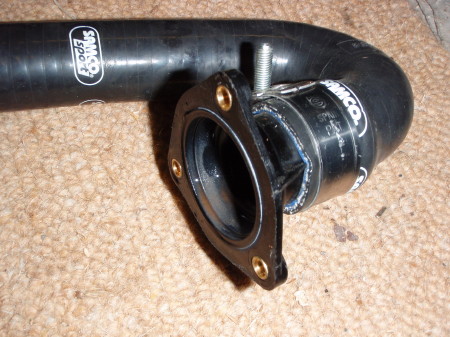
Thermostat housing part 2.
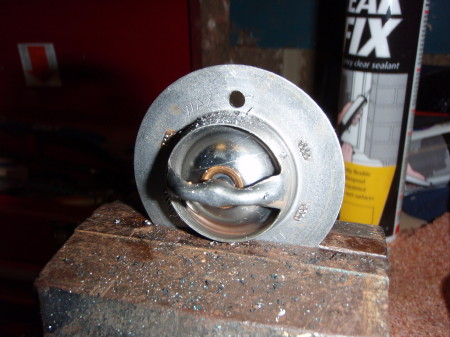
Thermostat modification.
Thermostat housing ready for re-fit.

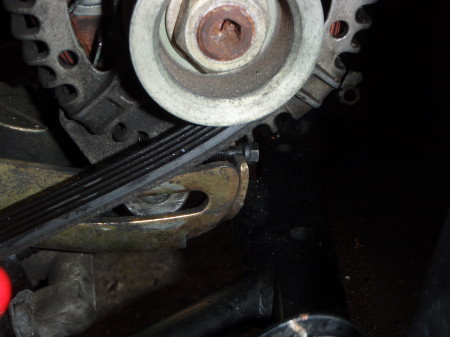
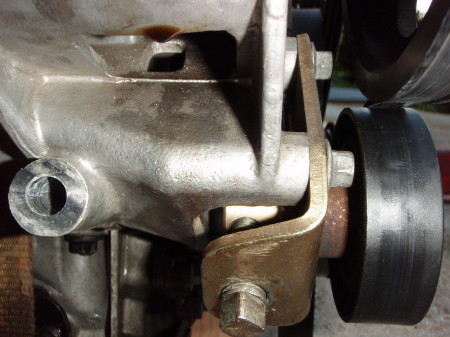
Alternator belt adjustment.
Inlet manifold re-installed.
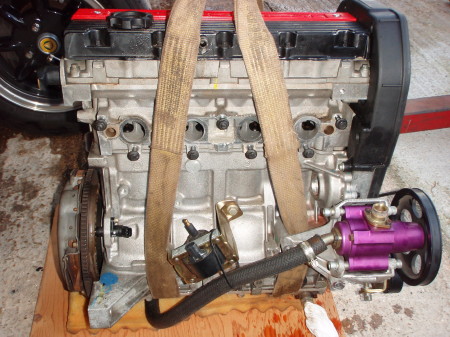
Dry sump (purple) scavenge pump belt adjustment.
 |
© 2007 all rights reserved
|
email protection script by joe maller
|
© 2007 all rights reserved
|
email protection script by joe maller